Top Toyota Yaris Mirror Replacement Options?
Choosing a replacement Toyota Yaris Mirror is not just a matter of matching the car’s color. Model year, body style, and installed features can change which mirror fits. A part that looks right in a product photo may have the wrong connector or mounting points. Check the vehicle identification number, owner’s manual, and original mirror before ordering.
Options usually include an original-equipment replacement, an aftermarket assembly, or a mirror glass and cover repair. Each suits a different need. An original part may offer the closest match for fit and finish, while a reputable aftermarket unit can cost less. Replacing only the glass may work when the housing and adjustment mechanism remain intact. It will not solve a cracked base or failed power control. Small details matter.
Look for features your Yaris actually uses, such as power adjustment, heating, a turn-signal repeater, or power folding. Do not pay for equipment the car does not support. Check connector shape, mounting location, and finish. If the mirror includes wiring or safety-related functions, compare specifications carefully and ask a qualified technician when uncertain. A loose fit can create wind noise or vibration, and poor visibility is a serious trade-off. Installation may be straightforward, but door trim clips can break if handled roughly. That part is easy to underestimate. The best option is the one that fits your exact Yaris, restores a clear rear view, and suits your budget without guesswork.
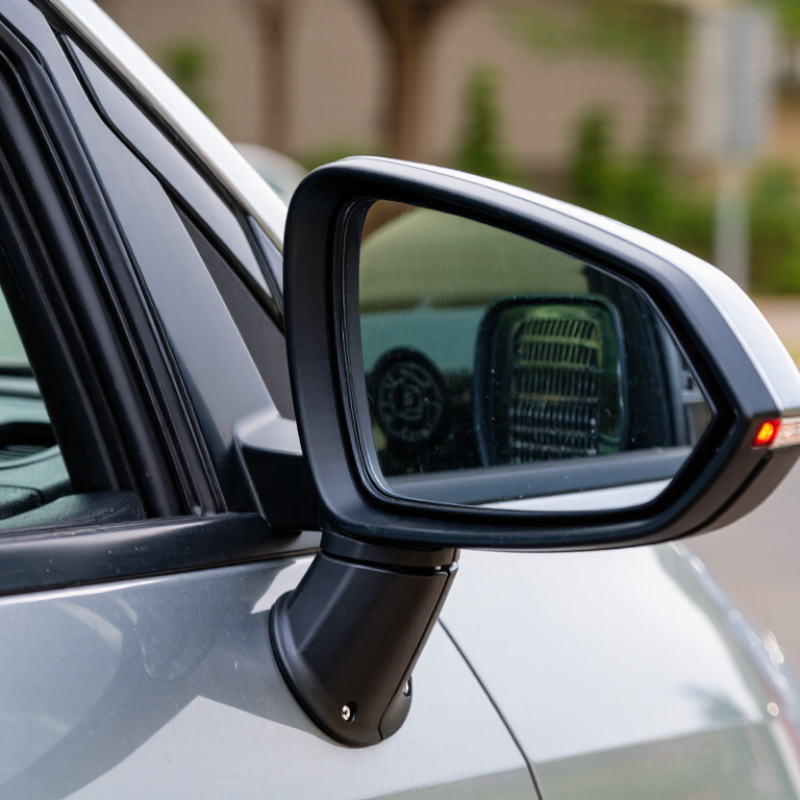
Toyota Yaris Mirror Types and Replacement Choices
A replacement mirror for a compact hatchback may be manual or power-adjustable. Some versions include a heated glass panel, a turn signal, or a painted cover. Check the equipment already fitted before ordering; the housing can look identical while the wiring plug differs. A complete assembly replaces the arm, housing, and glass. A glass-only insert may work when the housing and adjustment mechanism remain intact. Small cracks can spread, though, especially after a door is shut hard.
Replacement choices depend on the damage and your comfort with basic repairs. A compatible aftermarket assembly can cost less, but confirm its connector, mounting points, and features against the vehicle’s year and trim. A used original part may match well, yet its folding joint or glass adjustment could be worn. A repair shop can verify fitment and align the mirror after installation. I once assumed matching color meant matching fit. It did not.
Tips: Compare the old connector and mounting shape with clear listing photos. Test power adjustment and heating before reinstalling the door panel. Keep the old fasteners; replacements may not be included. If the mirror still vibrates, check the mount before blaming the glass.
How to Identify the Correct Mirror for Your Yaris
Choosing the correct Yaris mirror starts with the vehicle’s exact year and trim. Mirror designs can change between model years, and equipment may differ by market. Check the registration documents or vehicle identification number, then compare the replacement listing with those details. Do not rely on “fits Yaris” alone.
Check both sides. A left-side mirror is not interchangeable with a right-side one. Compare the mounting base, bolt pattern, and shape of the housing with your existing mirror. Then inspect its functions: manual or powered adjustment, heating, a turn-signal indicator, or other features. The electrical connector should match too. A photo can help, but connector pins and small tabs are easy to miss.
If the original part number is readable, use it to confirm compatibility with a supplier or repair professional. Also compare the mirror glass size and the location of its adjustment motor. A mirror may bolt on yet still lack a feature your car uses. It is tempting to order by appearance alone; that shortcut can mean returning the wrong part. Double-check the listing’s year range and included components before buying.
OEM, Aftermarket, and Used Mirror Options Compared
Choosing a replacement mirror starts with matching the exact model year and trim. An original-equipment mirror usually offers the closest fit and finish. Its connector, adjustment controls, and mounting points are designed for that vehicle configuration. This can reduce surprises during installation. However, it often costs more, and some versions require separate painting. Check the details. Heated glass, turn signals, power folding, and blind-spot indicators may vary even within one model year. Compare the old mirror’s plug and features before ordering.
Aftermarket mirrors can cost less and may be available quickly. Quality varies, so inspect product photos, warranty terms, and fitment notes. A slightly different housing shape can affect wind noise or how well the mirror folds. Used mirrors may be the least expensive choice, especially when the color already matches. Look closely for cracked tabs, cloudy glass, loose adjustment joints, and water inside the housing. Ask whether the part came from a vehicle with the same equipment. That question is easy to forget. I would also test every electrical function before reinstalling the door panel; discovering a dead heater afterward is frustrating. If installation feels uncertain, a qualified technician can check the wiring and confirm the mirror gives a clear rearward view.
Key Features to Check Before Choosing a Replacement
A replacement side mirror should match the original equipment, not just the door shape. Check the glass curvature, housing dimensions, mounting points, and connector before ordering. A flat or differently curved pane can change how far away traffic appears. That small mismatch matters when a car approaches from behind. Compare the wiring plug and functions too: heating, power adjustment, folding, turn signals, and memory controls may vary by trim. If the mirror contains a camera, ask whether the vehicle’s service procedure requires calibration.
Visibility deserves careful attention. The Highway Loss Data Institute reported that blind-spot detection was associated with 14 percent fewer lane-change crashes and 23 percent fewer lane-change crashes involving injuries. Those figures concern driver-assistance systems, not replacement mirrors, but they underline the value of clear side visibility. A mirror cannot replace a blind-spot check. Nor should an added warning feature be assumed compatible without confirming the vehicle’s wiring and system requirements.
Inspect the mirror glass for distortion by viewing a straight curb or doorframe across its surface. It should remain visually steady, not bend near the edges. Check that the adjustment motor moves smoothly and that the housing sits flush against the door. I would not rely on appearance alone; a connector can look right and still differ internally. Keep the original mirror’s functions and mounting details handy when comparing options.
Installation Methods and Compatibility Considerations
Choosing a replacement side mirror is only half the job; matching it to the vehicle matters just as much. Check the model year, body style, trim level, and side before ordering. Compare the connector shape and mounting points with the original mirror. Features can differ, too: some versions include heating, power adjustment, turn signals, or folding functions. A mirror that looks right may still have an incompatible plug. The vehicle identification number can help a parts specialist confirm fitment, but verify the listing details as well.
Installation method depends on the mirror design. Many assemblies attach behind the interior door trim, so access may require removing a small panel and disconnecting the wiring plug. Use a plastic trim tool to reduce scratches, and support the mirror while loosening its fasteners. Do not pull on the wires. If the replacement needs painting, test-fit it before finishing; minor fit issues are easier to catch early. Honestly, trim clips can be stubborn, and one may break despite careful work.
Tips: Keep the old mirror until the new one works. Compare both connectors before installation, then test adjustment, heating, and any signal function. If wiring colors or mounting points do not match, pause and confirm compatibility rather than forcing a connection. A repair manual can clarify trim removal for the specific year.